
How to Prepare Your RV for a Prepurchase Inspection
MJ
Understanding the Importance of a Prepurchase Inspection
Purchasing an RV is a significant investment, making it crucial to ensure that everything is in excellent condition before closing the deal. A prepurchase inspection helps identify any potential issues, saving you from costly repairs down the road. Proper preparation for this inspection can make the process smoother and more effective.
When preparing your RV, it's important to approach it systematically. This not only makes it easier for the inspector to do their job but also increases the likelihood of uncovering any hidden problems.

Clean and Declutter the RV
A clean RV is easier to inspect. Start by thoroughly cleaning both the interior and exterior. Remove any personal items and clutter that might obstruct the inspector's view. Pay attention to often-overlooked areas like storage compartments and under seats.
Ensure that all surfaces are wiped down, and floors are swept and mopped. This not only makes a good impression but also allows the inspector to focus on the RV’s condition rather than the mess.
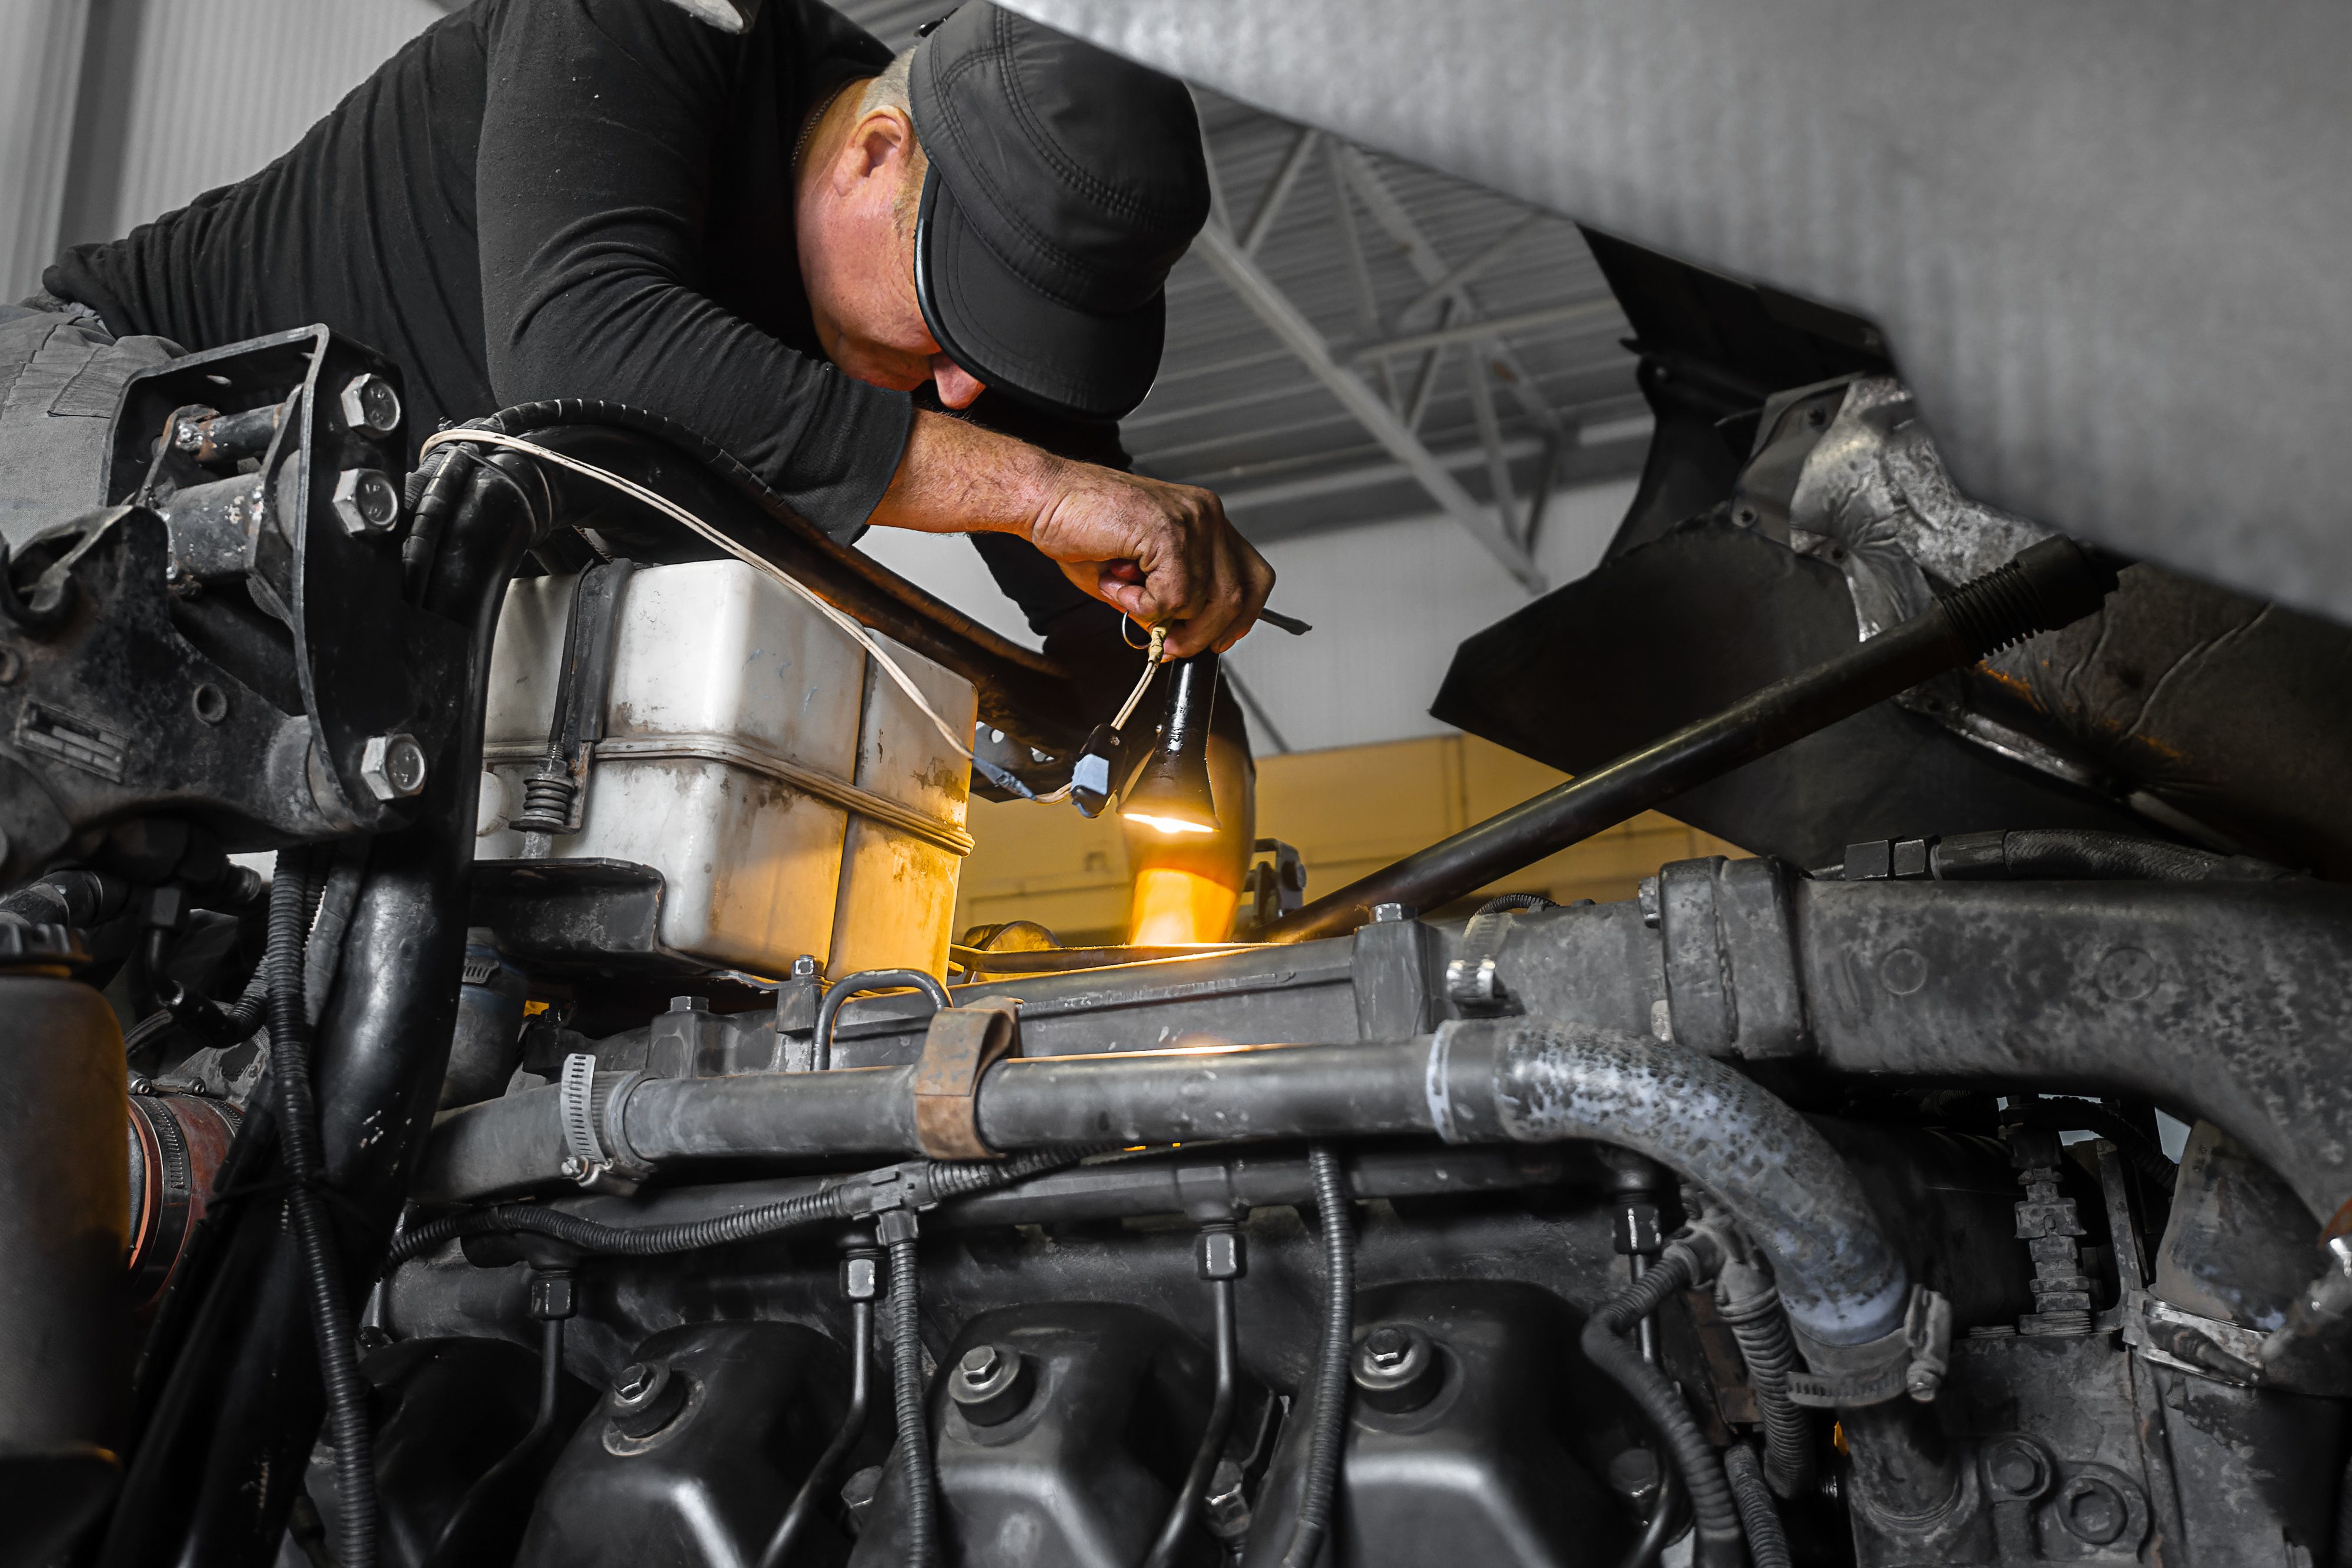
Check the Mechanical Systems
Before the inspection, it's wise to perform a basic check of the RV's mechanical systems. This includes testing the engine, brakes, and transmission. Listen for any unusual sounds and make a note of them for the inspector.
Ensure that all fluid levels, such as oil and coolant, are topped up. This step helps prevent any unnecessary wear during the inspection and demonstrates that the RV has been well-maintained.
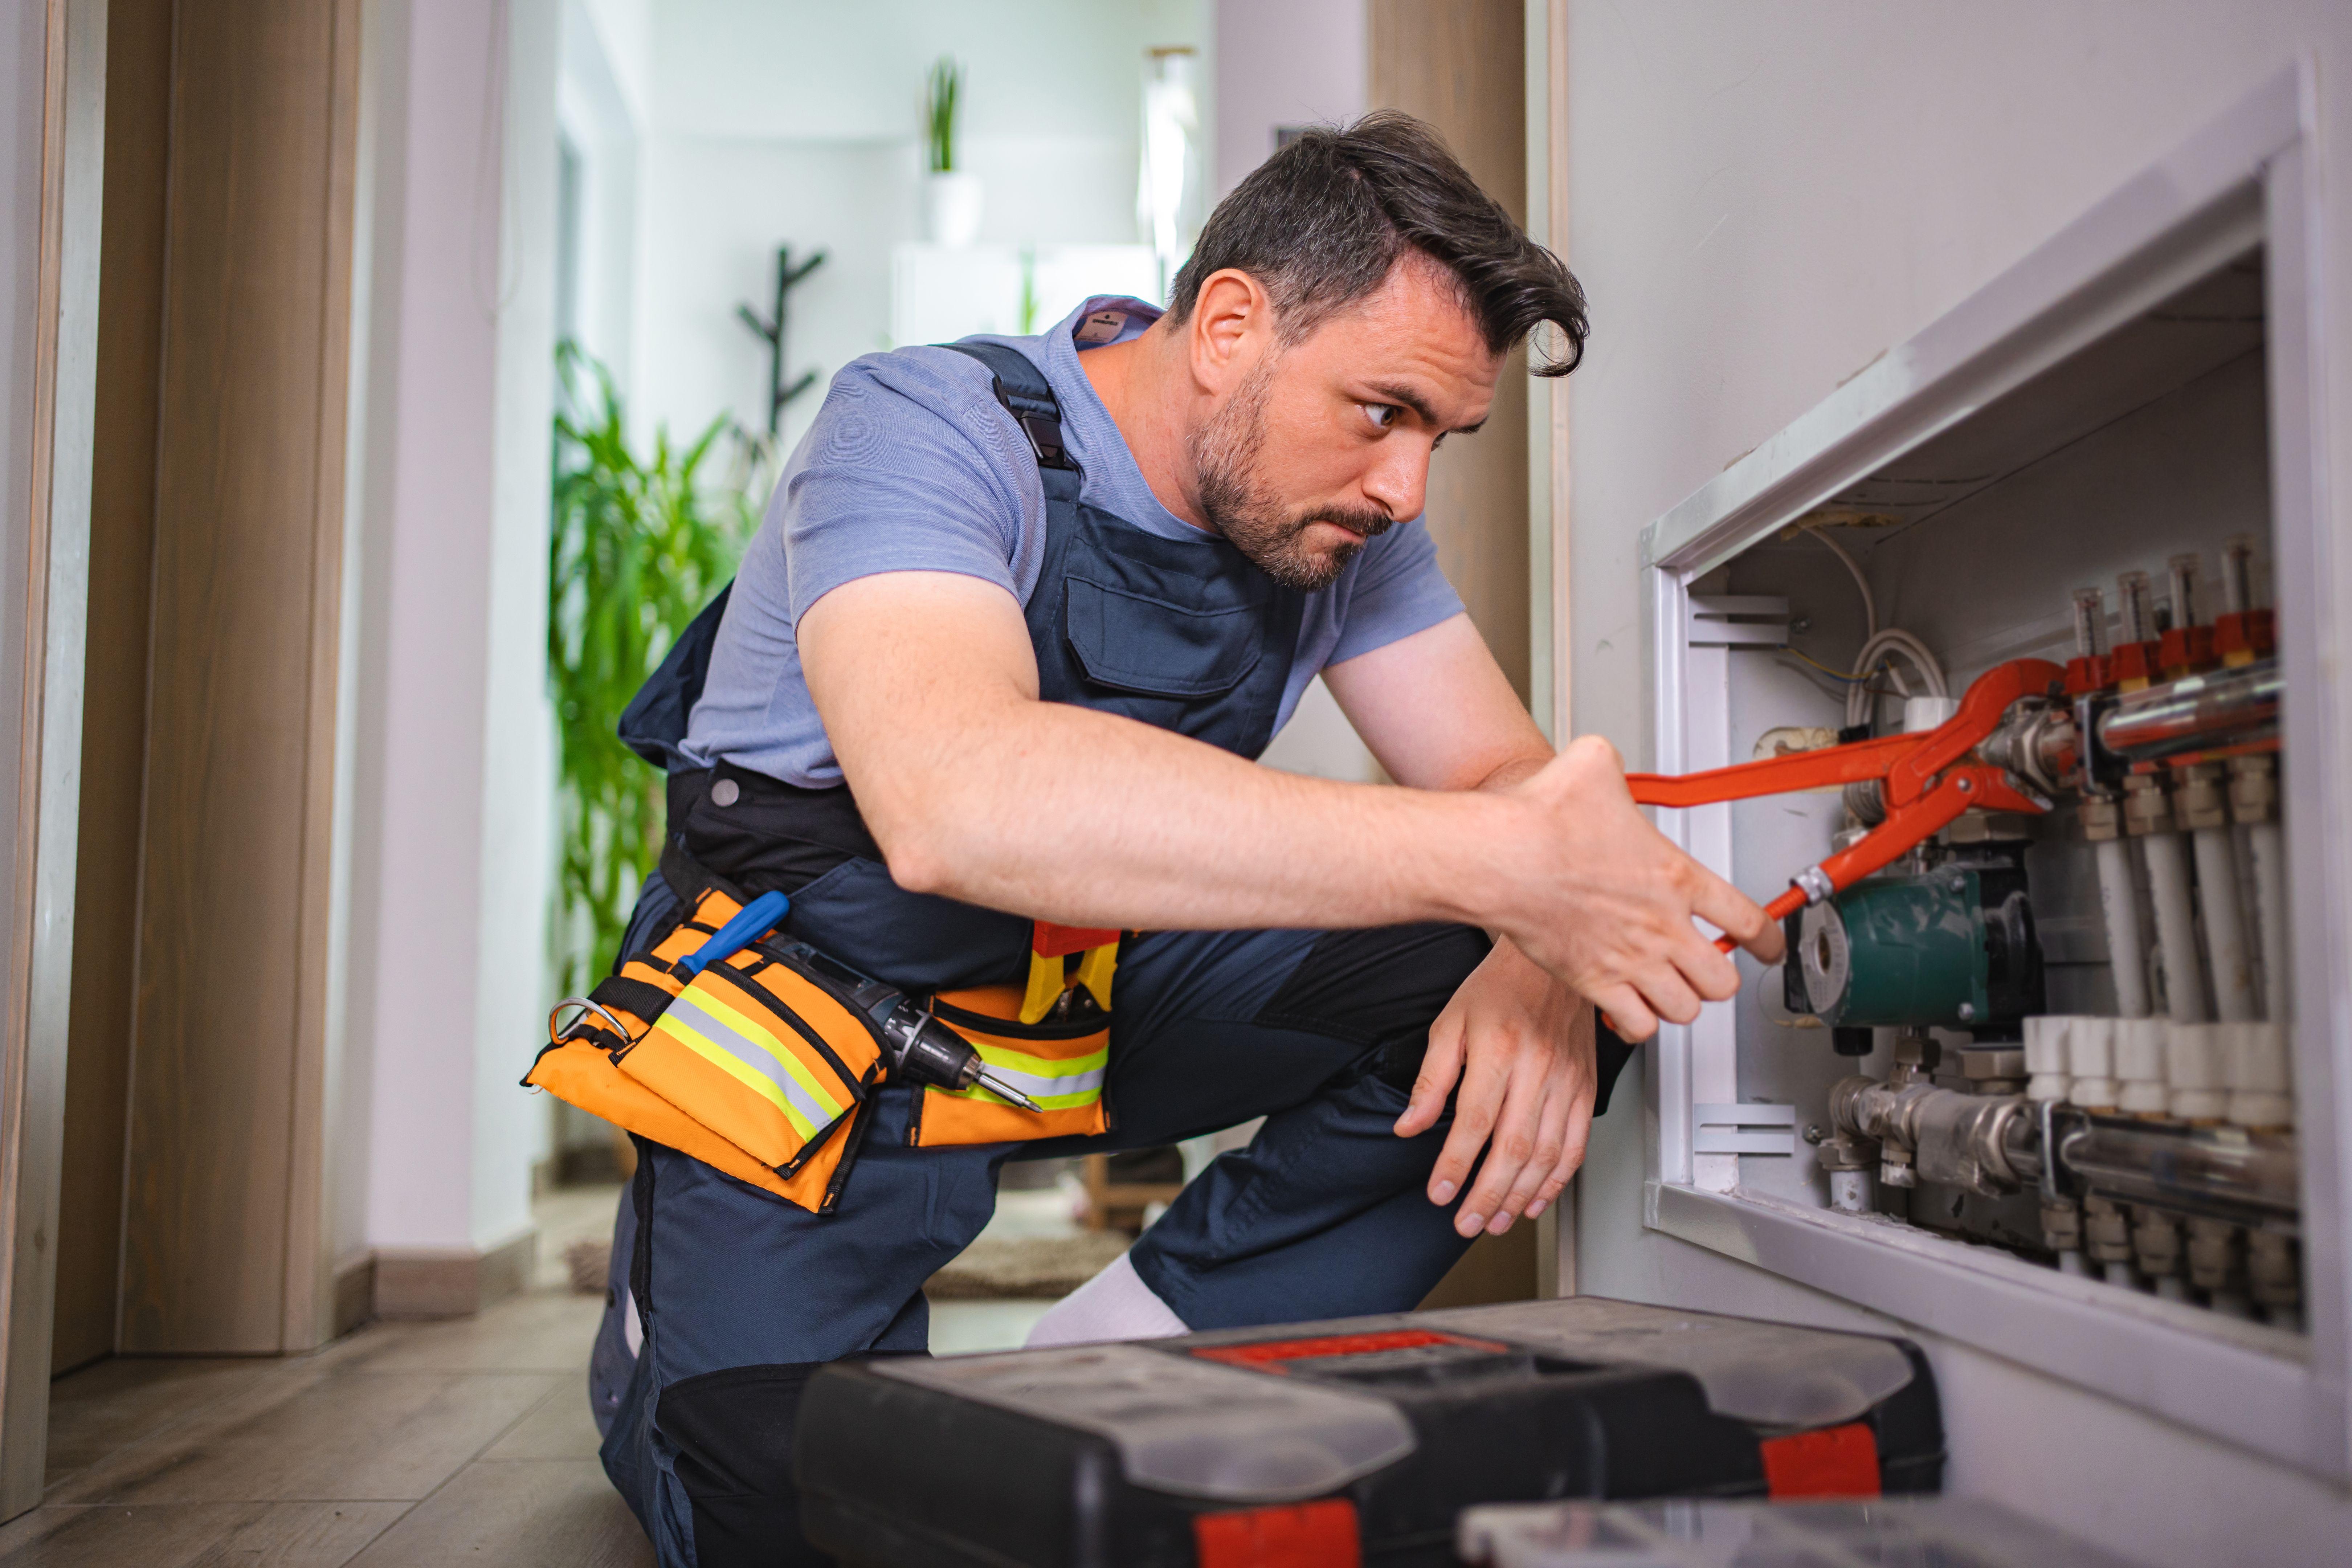
Inspect the Electrical and Plumbing Systems
Electrical and plumbing systems are critical components of an RV. Test all lights, appliances, and outlets to ensure they are functioning correctly. Replace any burnt-out bulbs and fix any non-working outlets.
For the plumbing, check for leaks under sinks and around toilets. Run water through all faucets and ensure that the water heater is operational. Identifying and fixing these issues before the inspection can save time and avoid potential deal-breakers.
Examine the Exterior
The RV’s exterior should be closely examined for any damage, such as dents, rust, or cracks. Pay special attention to the roof, as it’s prone to leaks. If you notice any issues, consider having them repaired before the inspection.
Check the condition of the tires, including tread wear and pressure. Properly inflated and well-maintained tires are essential for safety and can impact the overall impression of the RV's condition.
Prepare Documentation
Having all necessary documentation ready can streamline the inspection process. Gather maintenance records, warranty information, and any receipts for recent repairs or upgrades. This documentation provides valuable insights into the RV’s history and upkeep.
Organizing these documents in a binder or folder makes it easy for the inspector to review and can help build trust with potential buyers.

Final Touches
As a final step, ensure that all keys and remote controls are available and functional. Demonstrating that everything works as intended can leave a positive impression on both the inspector and potential buyers.
Consider conducting a mock inspection with a friend or family member to identify any areas that might need attention. This practice run can uncover issues you might have missed and help you better prepare for the actual inspection.